A wired doorbell may seem old-fashioned compared to today’s smart, wireless alternatives, but it remains one of the most reliable and long-lasting options for homeowners. Unlike battery-powered models, a wired doorbell ensures a constant power supply, crisp chimes, and fewer interruptions. If you’re planning to upgrade or replace your wired doorbell, the installation process is more straightforward than you may think.
In this step-by-step guide, we’ll walk you through how to install a wired doorbell in just five easy steps.
Tools & Materials You’ll Need
Before you begin, make sure you have the following items handy:
- A new wired doorbell kit (button, chime, transformer).
- Screwdrivers (flathead and Phillips).
- Drill and drill bits (if you need to make new holes).
- Electrical tape and wire connectors.
- Voltage tester (for safety).
- Pencil and level for marking.
Step 1: Turn Off the Power
Safety first! Since you’ll be handling electrical wires, always turn off power at the breaker box before starting.
- Locate the circuit that controls your current doorbell.
- Flip the breaker to the OFF position.
- Use a voltage tester on the existing doorbell wires to confirm there’s no electrical current flowing.
👉 Skipping this step can be dangerous, so double-check before moving forward.
Step 2: Remove the Old Doorbell
If you’re replacing an existing wired doorbell:
- Unscrew the faceplate of the old doorbell button.
- Gently pull it out to expose the wires behind.
- Loosen the terminal screws and disconnect the wires.
- Remove the mounting bracket if it won’t fit your new doorbell.
For first-time installations, you’ll simply skip this step and proceed with preparing the wires.
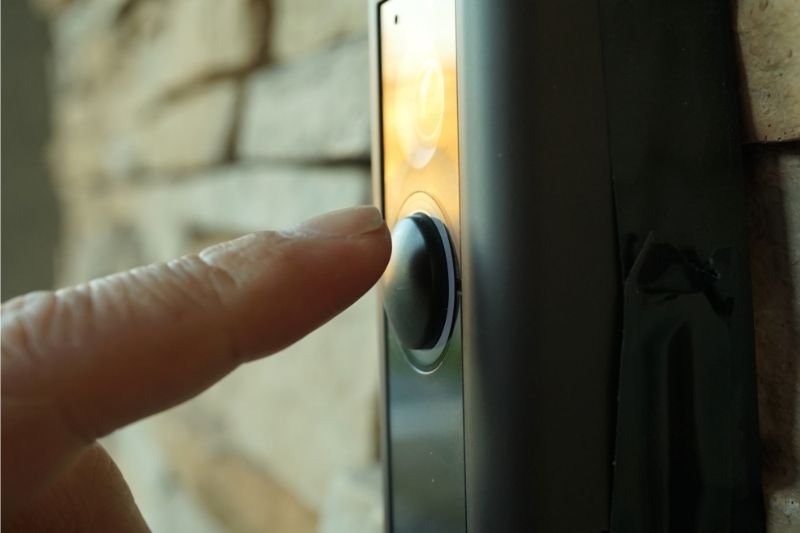
Step 3: Install the New Doorbell Button
Now that the old unit is out of the way, it’s time to attach the new doorbell button.
- Thread the wires through the new button’s mounting plate.
- Use a pencil and level to mark drill points on the wall or door frame.
- Drill holes if necessary and screw the mounting plate securely in place.
- Attach the wires to the screw terminals on the back of the new button:
- One wire goes to the front terminal.
- The other wire goes to the transformer terminal.
👉 Wrap the exposed ends with electrical tape for safety.
Step 4: Connect the Chime Box
Your doorbell button works in tandem with a chime box inside your home.
- Remove the cover from the chime box.
- Identify the terminals marked TRANS, FRONT, and (if you have one) REAR.
- Attach the wires:
- Transformer wire → TRANS terminal.
- Front door wire → FRONT terminal.
- (Optional) Rear door wire → REAR terminal.
- Tighten the screws and ensure all connections are secure.
👉 If you’re replacing an old chime box, simply repeat this process where the old unit was installed.
Step 5: Restore Power and Test
Once everything is wired up:
- Turn the breaker back on.
- Press the new doorbell button to test it.
- If it works, you should hear a clear chime inside your home.
- If nothing happens:
- Double-check your wiring connections.
- Ensure the transformer is functional.
- Test the wires with a voltage tester again.
👉 For persistent issues, the problem may be with the transformer, which sometimes needs upgrading to support newer chimes.
Extra Tips for Success
- Label Your Wires: Before disconnecting old wires, label them with tape so you know where each one goes.
- Upgrade the Transformer: If your new doorbell chime doesn’t sound right, the transformer might not be supplying enough voltage.
- Use Weatherproofing: If your doorbell button is outdoors, seal around the edges with caulk to prevent moisture damage.
- Check Local Regulations: Some housing associations or condos require approval for exterior changes—always confirm before drilling.
Final Thoughts
Installing a wired doorbell isn’t as intimidating as it sounds. With just a few tools and about an hour of work, you can enjoy a dependable system that lasts for years.
To recap, the process boils down to:
- Turn off the power.
- Remove the old button.
- Mount the new button and connect wires.
- Wire the chime box.
- Restore power and test.
Whether you’re replacing an outdated chime or installing one for the first time, a wired doorbell provides peace of mind, reliability, and classic functionality that battery-powered models can’t always match.